Page 3 of 4
Re: Yamaha yl3 restoration
Posted: Fri Nov 14, 2014 4:30 am
by EPApolice
I should open a museum Jon
Re: Yamaha yl3 restoration
Posted: Fri Nov 14, 2014 7:44 am
by JonW
you should, I reckon it would be a hit!
Re: Yamaha yl3 restoration
Posted: Sun Nov 16, 2014 2:50 pm
by gman
Re: Yamaha yl3 restoration
Posted: Sun Nov 23, 2014 10:40 pm
by gman
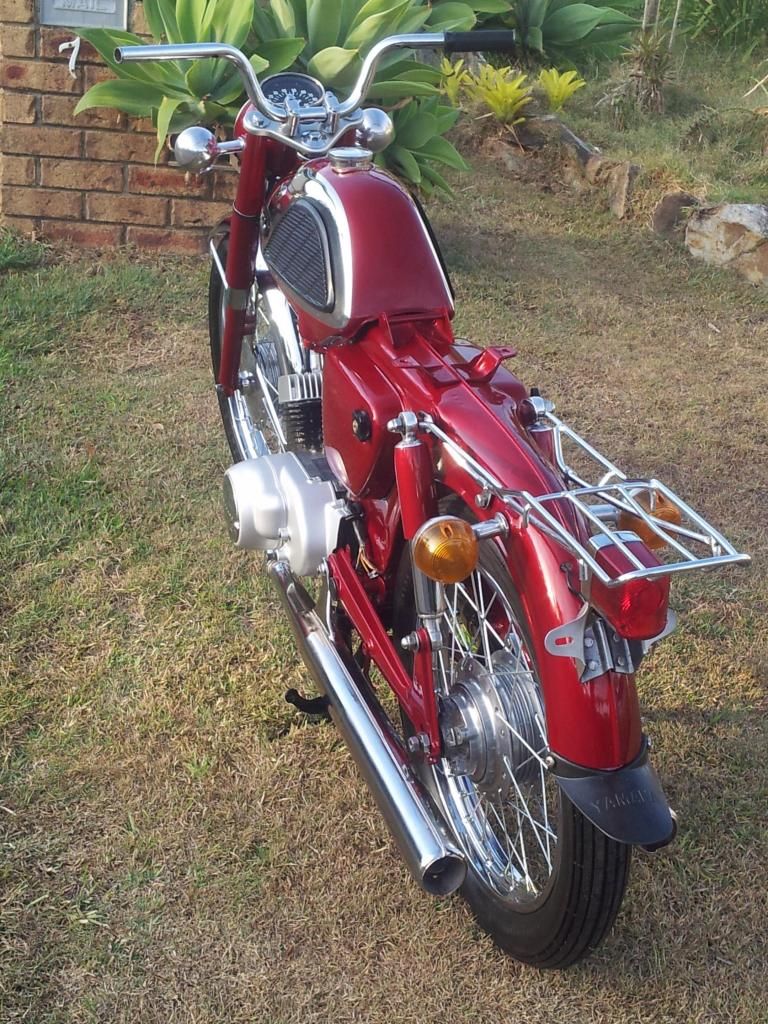
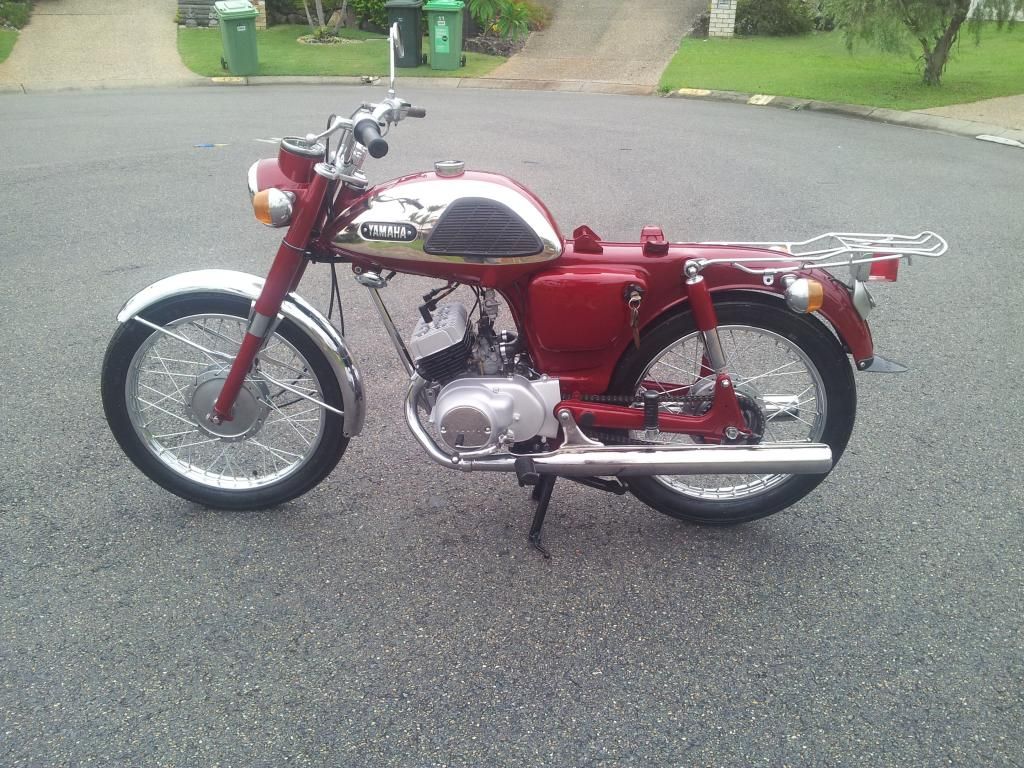
more progress. Engine and tail light fitted. servicing the oil pump at the moment Also final clean of carby's and tidying up air box and oil tank. photo
Re: Yamaha yl3 restoration
Posted: Mon Nov 24, 2014 5:29 am
by Greasemeup
That is lovely, especially like the colour in the rear end shot in that light, real candy looking.
Sent from my iPhone using Tapatalk
Re: Yamaha yl3 restoration
Posted: Mon Nov 24, 2014 9:20 am
by hybrid
Hmmm my uncle has a kawasaki that looks very similar to this hiding in his shed.
It's complete, but it's been sitting there a long while.
I should offer to buy it.
I think he calls it "little bill".. not sure if that was a common name for that model, or just his name for it.
Edit: looks like it might be a J1... its been while since I saw it.
Re: Yamaha yl3 restoration
Posted: Sun Dec 21, 2014 10:37 am
by BRG1200
That's beautiful.
Gorgeous colour.
Re: Yamaha yl3 restoration
Posted: Tue Jan 13, 2015 10:35 pm
by gman
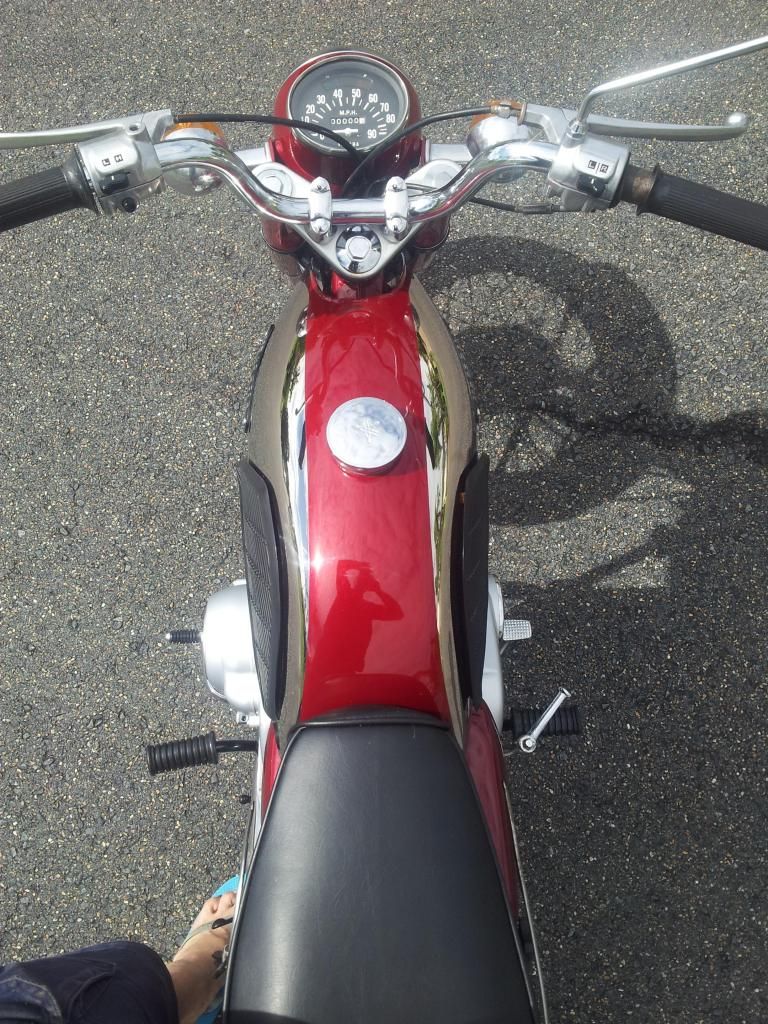
g'day race fans. Back to being busy on the l3. Handle bars with controls are finnished. I was able to find a genuine original yl3 mirror after 2 years of searching. THe carbs are installed and synched. oil pump installed to spec . The seat is back at the apolsterers for adjustments.
Restorations takes allot of time. Every time you install the next mechanisim it;s trial fit, adjustments then you realise you've runout of 5 mm split washers. I think the end result is hardest on the builder because he knows the area's that has an imperfection before the casual observer.
I have a build plan of 1-2 hours every afternoon. Today's hicup was the manifold to cylinder gaskets would'nt fit due to build up of nickel on the headers. Into the back shed for 2 different dremel bits then round file. Next hurdel, one of the header pipes chrome nut had buildup on the thread, not allowing threading. Back to the back shed. Small screwdriver cleaning the thread of the nut and repeated on of, wd40, on of threading, on a spare cylinder. Times up. Did i mention how many times your cleaning your hands everytime you return to the bike??? Frustration but enjoyment at the same time. Both headers fitted in 2 hours. the build goes on, won't be long now.
Re: Yamaha yl3 restoration
Posted: Thu Jan 15, 2015 12:26 am
by SPman
That's going to be a real nice little tiddler. My YL1 back in '67 would do 70mph indicated, and was also the first bike I pulled a wheelie on. Was faster than my mates S32 Suzuki and 150 Hondas. Real fun little machines that punch way above their weight.
Re: Yamaha yl3 restoration
Posted: Thu Jan 15, 2015 10:11 pm
by gman
the yl1 had a factory performance spec of 9.5hp at 8500rpm with 6.0ft lbs torque at 8000rpm. top speed 65-70mph. The engine uses a 3 port barrell gear box is a 4 speed. The yl3 was intruduced in there service manual as follows. The yamaha yl3 is built specifically to satisfy the exacting demand of theracing enthusiast. (lol) In extensive tests the new yl3 has proven to match or outrun larger comptitive motorcycles on less fuel. The parallel twin 5 port cylinder is yamaha's newest invention. The new 5 port cylinder has two more scavenging ports than the conventional piston ported system, reulting in more power and performance. this coupled with a well spaced 5 speed transmision,as1 style chamber silencers,gives the yl3 the edge over the competition.
The yl3 has 16mm mikuni vm carbs as opposed to 15mm on the Yl1. Also the clutch is as used on the Yas1 125.
The factory rated the performance as 10.7hp at 8000rpm and 7.25ft-lbs of toque at 7500rpm. top speed 72-74mph.(65km/ litre at 40kim/h).
I love this little bike.Won't be long till its on the road again.
Re: Yamaha yl3 restoration
Posted: Thu Jan 22, 2015 7:25 pm
by gman
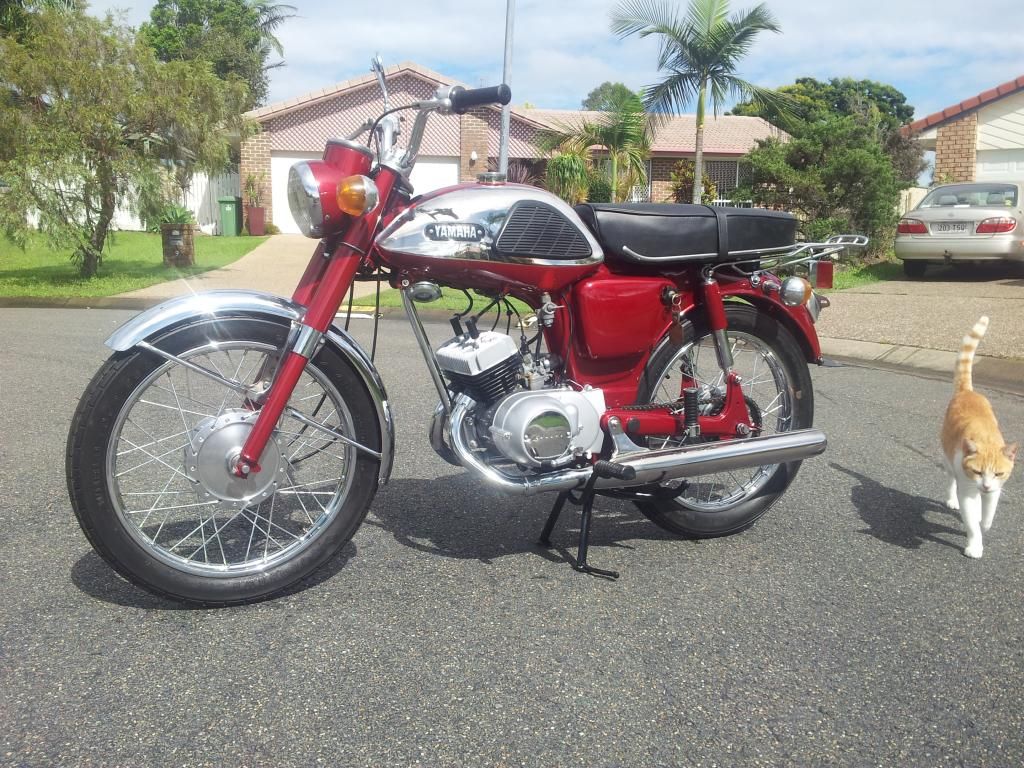
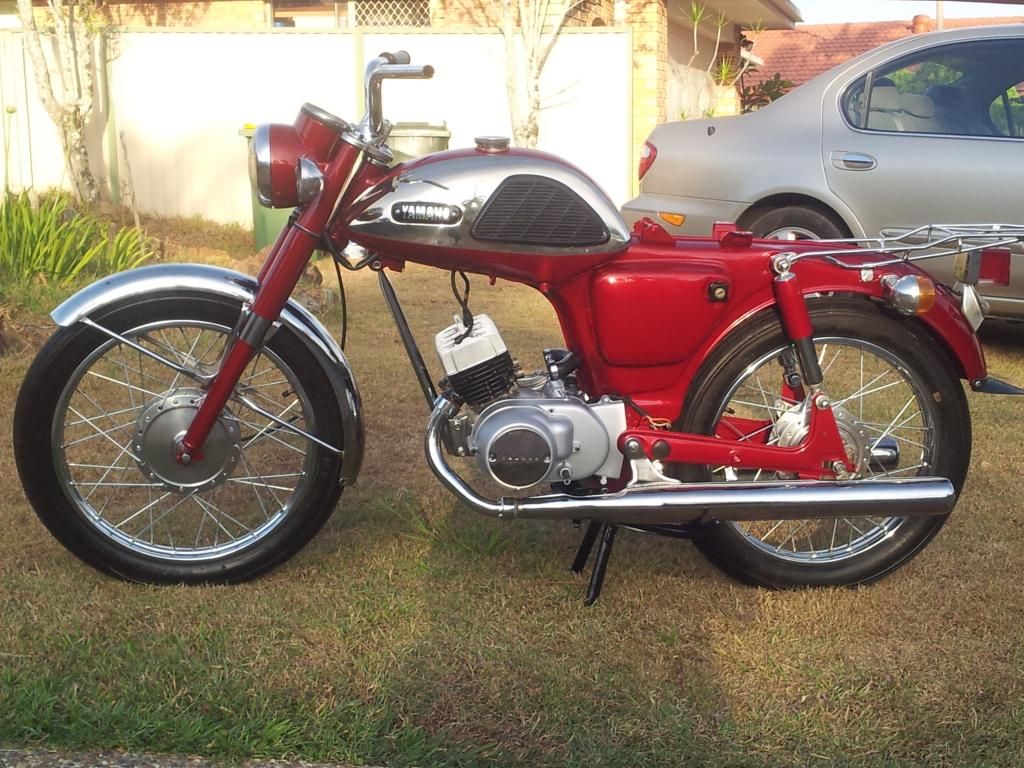
G'day race fans. The l3 lives again. finnished all the running gear today. started her up and road to the end of the street and back. All the cables needed some adjustment but other then that everything works and goes as it should. Hopefully the apolsterer has my seat finnished to pick up and install tommorrow. other then the seat i'm just waiting for the correct throttle twist grip and paint and install the front mud flap and chain case. Hopefully it will be registered next week.
Re: Yamaha yl3 restoration
Posted: Thu Jan 22, 2015 11:45 pm
by BRG1200
Looks great, really nice bike, really nice job.
What paint and method did you use on the barrels and head?
Re: Yamaha yl3 restoration
Posted: Fri Jan 23, 2015 9:01 am
by hybrid
Very nice example, well done!
Re: Yamaha yl3 restoration
Posted: Fri Jan 23, 2015 9:02 am
by gman
thanks brg. The barrells and heads i sandblasted using a $50 gravity fed sandblasting gun. I did use a glass bead that i bought from a media supplier. Used about 2 ice cream containers (2lt) of media to do the job. I was using regular sand bought from the landscper but i found some of the larger grains would clog the gun, I have since used some shade cloth as a sieve to correct the sand. I did use some 240 sand paper to smooth some of the visaual cooling fins after blasting.
Paint wise i used dupli colour engine enamel bought from super cheap auto. Aluminium and gloss black. The engine side covers were painted in 2 pack, i had the paint matched from a new yamaha engine cover that i borrowed from the yamaha dealer.
Re: Yamaha yl3 restoration
Posted: Sat Jan 24, 2015 2:34 pm
by gman
still a few small things to do. Got the seat back for a trial fir, just needs some of the foam shaved to get the correct shape. All but finnished.